

Guys IT’S CHRISTMAS and what a better way to celebrate than to make a gingerbread house? This gingerbread house is the perfect Christmas craft! You get all of the joys of making a beautiful gingerbread house, but you get to keep it forever to use as a decoration for your home to enjoy year after year!
This DIY post is specifically for a purchased craft kit that you can find on my Etsy shop.

Gingerbread House Craft Kit Instructions
Step One: Purchase Your Craft Kit and Gather Your Supplies
You will first need to purchase your Gingerbread House Craft Kit from my Etsy Shop HERE
In This Craft Kit You Will Receive:

– An 8x4x2 inch Box
– 1 Sticker-Backed Coloring Page: an optional way to make the box into a house
– 1 Bottle neck tree
– 1 Gingerbread man
– Mini pom poms
– Precut felt icing icicles
– 6 Mini wood Christmas shapes
– 1 Precut felt wreath
– 12 Pipe cleaners
– 24 Precut felt roof tiles (in a variety of colors)
– 3 Pieces of felt 4.5 x 6 inches
Additionally, you will need adhesive. You can choose to use Elmer’s Glue, Felt Glue, or even a Hot Glue Gun. I used a hot glue gun for this tutorial, because it dries extremely quickly, making it ideal for taking photos for step-by-step instructions.
A Hot Glue Gun dispenses HOT glue and can burn you. Please be careful and read all of the packaging instructions that comes with your hot glue gun before using it.
Step Two: Choose Between a White or Brown Gingerbread House
Make your choice between having a traditional brown gingerbread house, or a white house. The choice is totally up to you! I will be going back and forth within this tutorial to show both options.
The craft kit will arrive with the brown side facing outwards.
If you are going to choose a white house, you will need to take the box apart and then flip it inside out to reassemble to box with the white side facing outward. Here is a video to show you how to do that:
Step Three: Create the Roof of the Gingerbread House
An adult will need to assist with this step.
The box that the kit was delivered in will become the house.
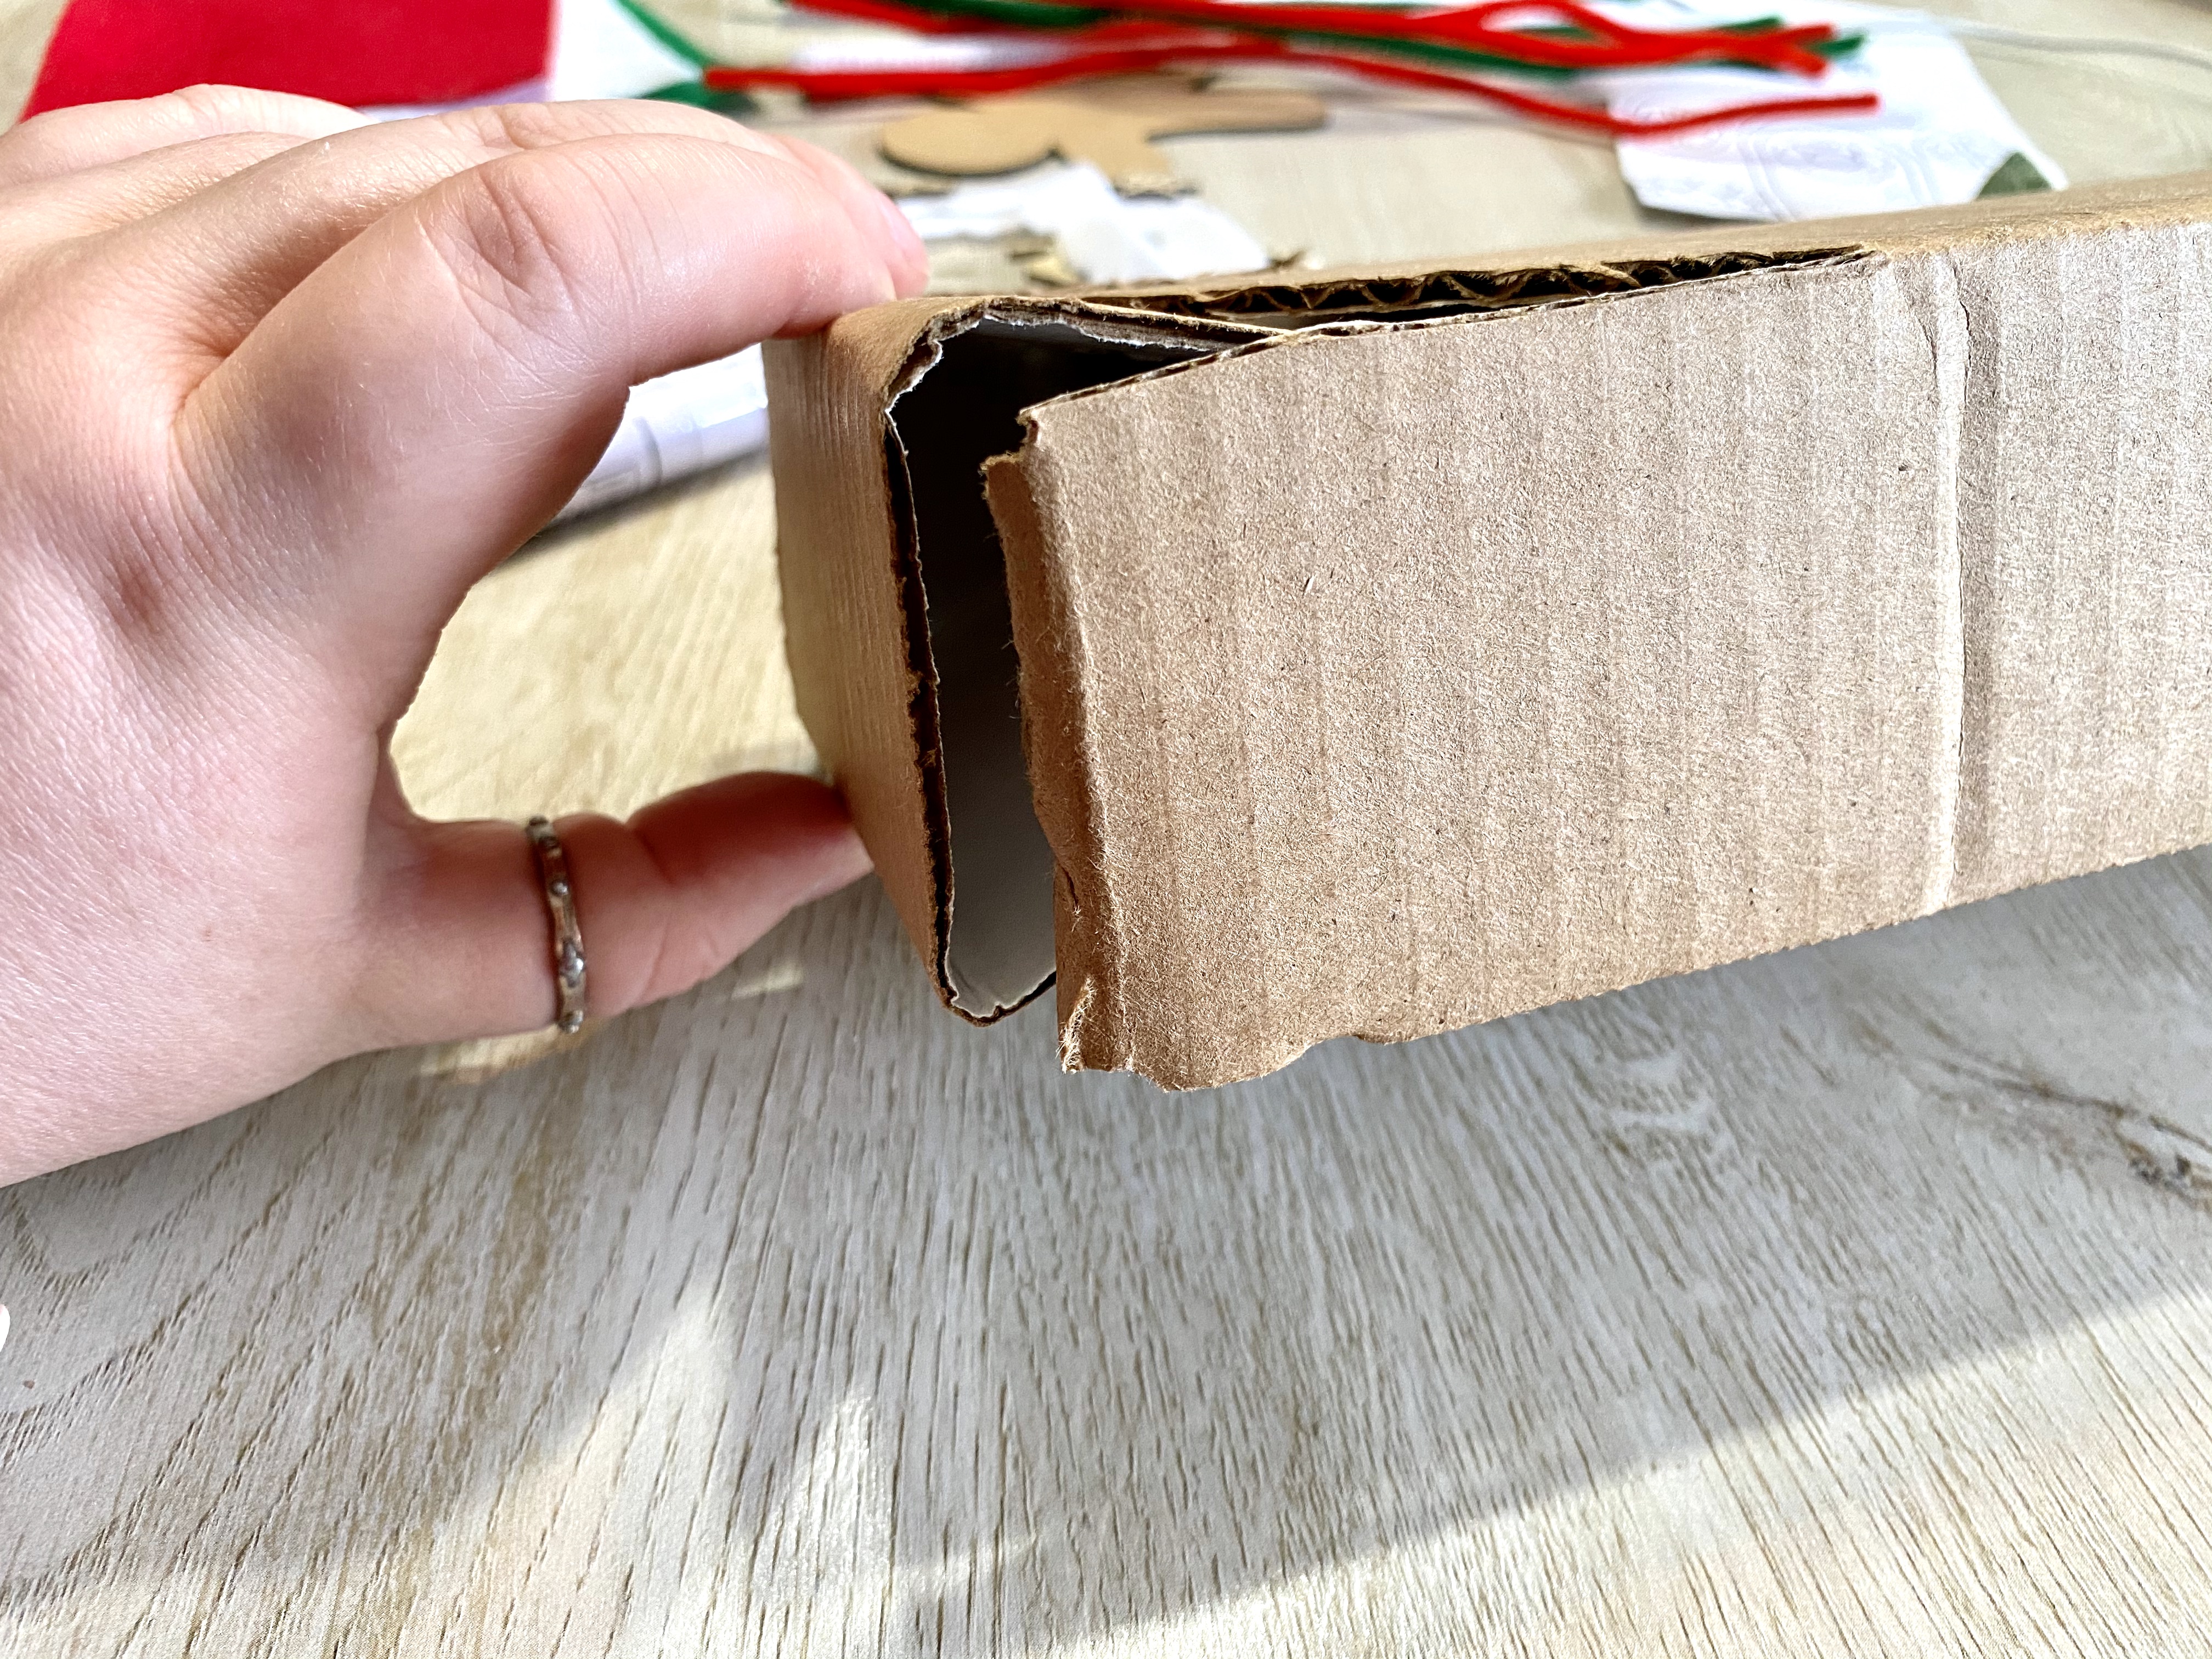
Locate the score lines on the front and back of the box. These score lines are the outline of your gingerbread roof.


Next, simply use a cutting, or punching tool to go over the score lines to create a solid cut. You could use a pair of closed scissors or Exacto Knife, as shown below, or simply your thumb, a letter opener, chopstick, etc.


After the first side of the box has been cut along the score lines, it will look like this:

Then simply repeat the same process on the other side of the house.

Next, take a pair of scissors and cut along the top corners of the box, as shown below.


Then, simply remove the remaining piece of cardboard, as shown below. The photo to the right are the pieces that will be removed, you can throw away these cardboard pieces or use them to make something awesome.

Finally, take the two flaps of cardboard, as shown below, and tape or glue them together at the top to secure them shut in a triangle rooftop shape.

Step Four (Optional): Color and Attach the Coloring Page
First, color the coloring page however you want! You could use markers, crayons, paint, glitter, lots of glitter, etc.

Next, peel away the sticker backing of your finished coloring page.

Align the bottom of the coloring page with the bottom edge of the box. This will guide your coloring page to be straight with the box while you secure it in place. Then fold the top corners over onto the roof to create a clean edge, as seen in the last photo below.


Step Five: Decorate Your Gingerbread House
Attach the felt “icing icicles”


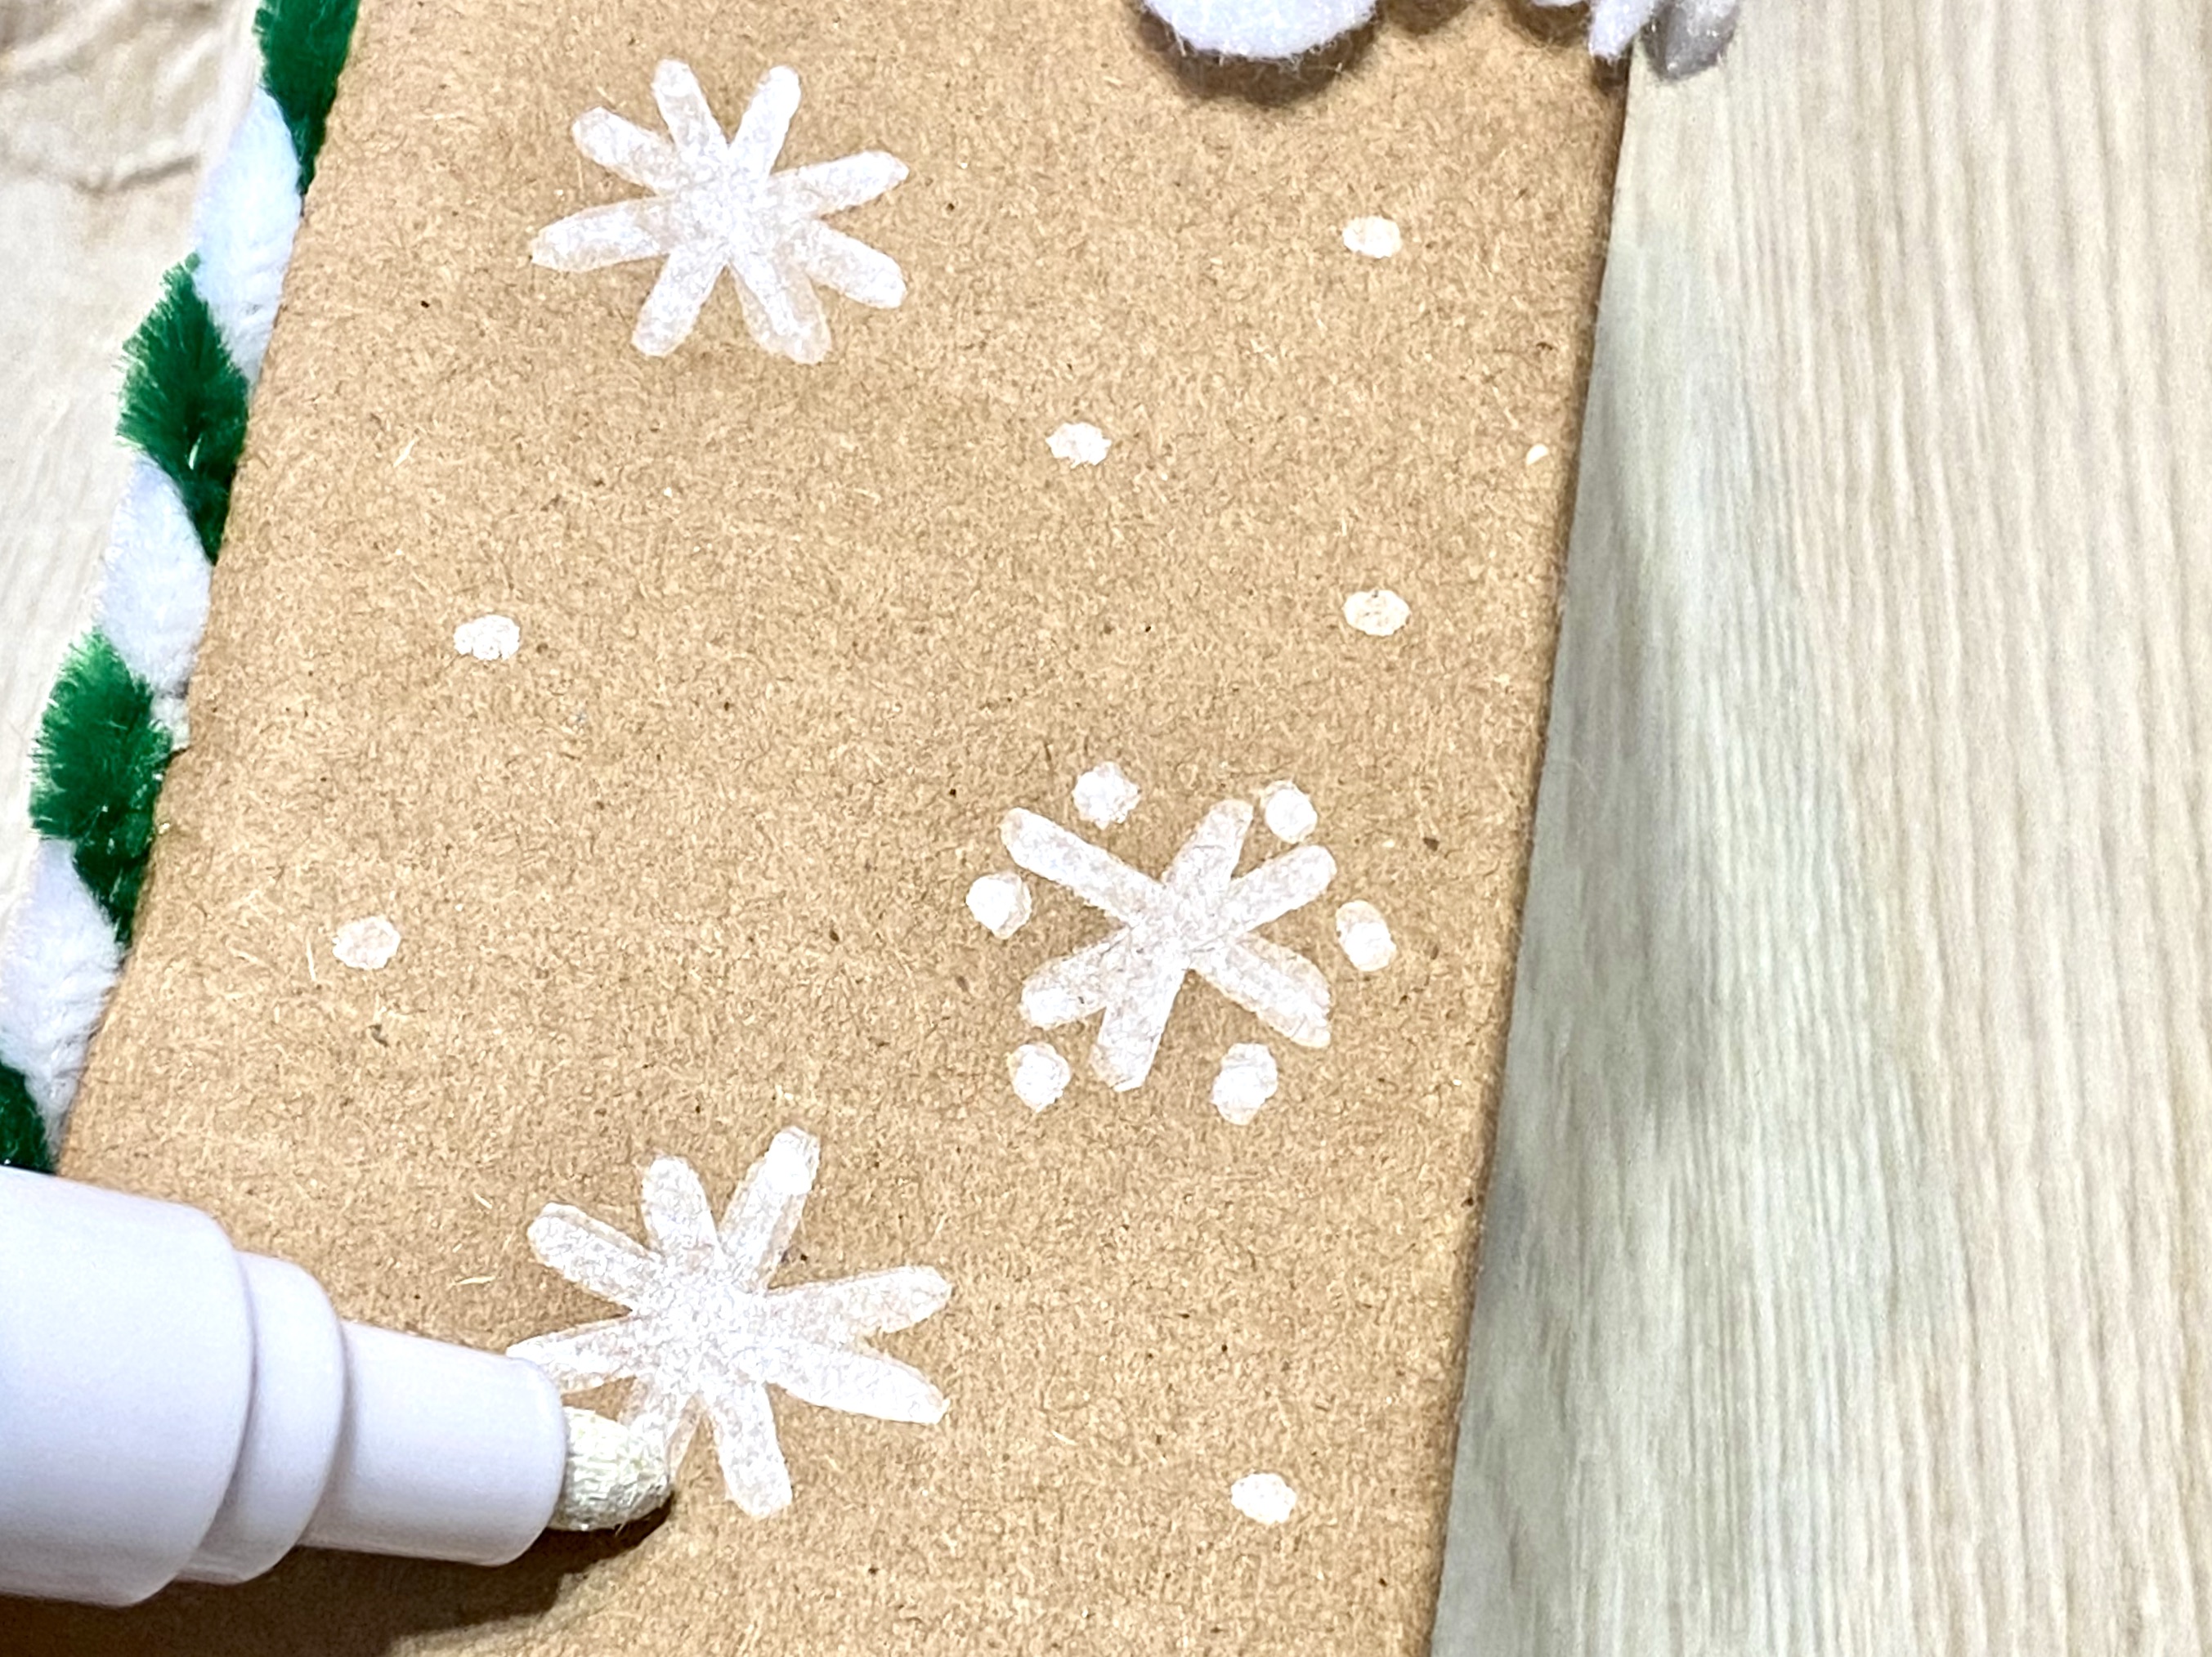
The rest is up to you! Make candy out of the felt or pipe cleaners, draw on the house, add your pom pom gumdrops, the possibilities are as endless as your imagination.


.
Step Six: Make Your Gingerbread Person
Draw on some icing details, add pom pom gumdrops, or use your felt pieces to create an outfit.


If you are using the felt to create an outfit for your gingerbread person, lay your gingerbread person on top of the felt. Next, use the gingerbread person as a stencil to trace and cut whatever shapes you would like. Then, cut out your clothing design and glue it onto your gingerbread person.
Step Seven: Enjoy!

The great part about these houses, is that you get to keep them forever! No need to worry about the cookies spoiling. It’s the perfect Christmas craft for any family.
Thank you for crafting with me and have a fun Holiday season!
1 thought on “Christmas Gingerbread House Craft Kit Tutorial”